



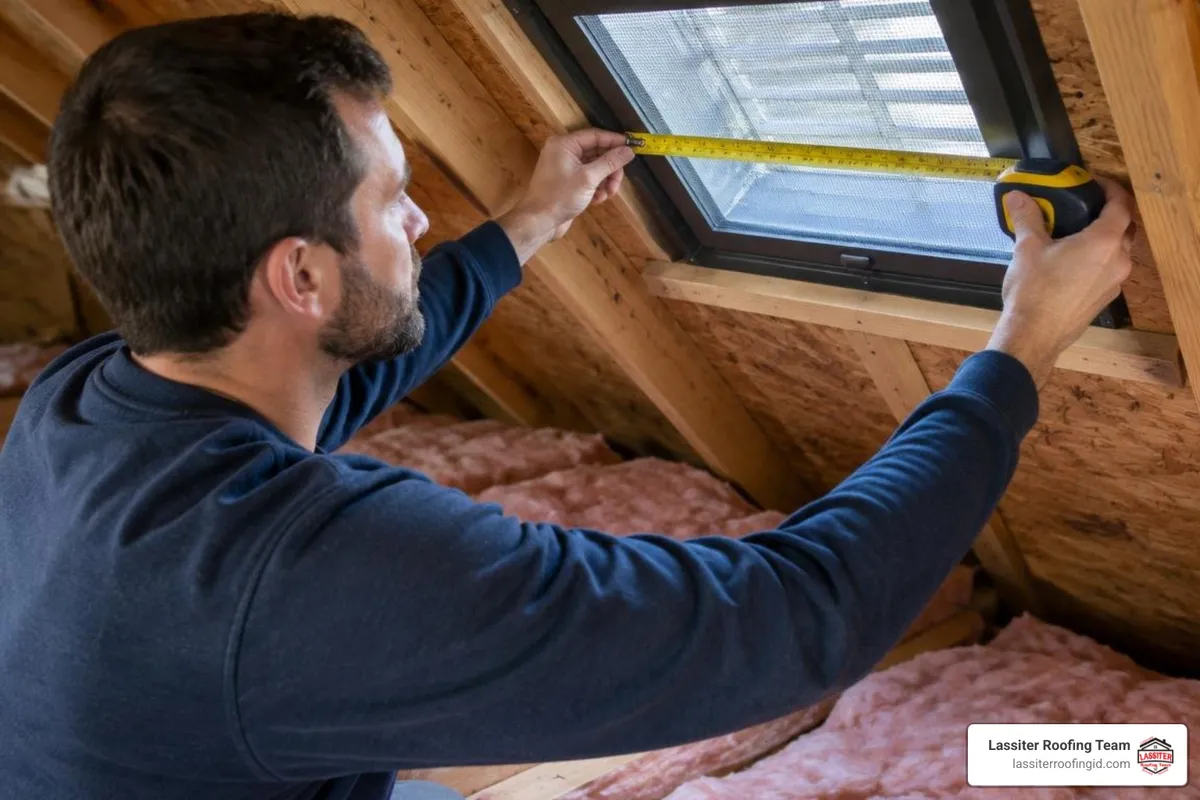
A Practical Guide to Roof Ventilation
The Core Mechanics of Roof Ventilation: How Airflow Protects Your Home
Roof ventilation is a balanced system of intake and exhaust vents that keeps attic temperatures close to outdoor air and removes moisture before it can damage your roof structure. The system works by drawing cooler outdoor air in through low intake vents at the eaves or soffits, while allowing heated, moisture-laden air to escape through exhaust vents near the roof peak. This continuous airflow protects your shingles, roof decking, and insulation from heat damage, condensation, wood rot, and ice dams.
At its simplest, attic ventilation relies on the basic laws of physics: warm air rises, and air moves from areas of high pressure to low pressure. When the sun beats down on your roof shingles during hot summer months, temperatures inside an unvented attic can soar to 140°F or even 150°F on a standard 90°F afternoon. Without a planned exit route, that intense thermal mass radiates straight down into your ceiling drywall, forcing your air conditioning system to run non-stop.
Natural ventilation relies on two fundamental driving forces:
Thermal Buoyancy (The Stack Effect): Warm air inside the attic expands, becomes lighter, and rises toward the highest points of your roofline. As this heated air pushes outward through exhaust vents near the ridge, it creates a slight negative pressure zone in the lower attic space, naturally pulling in cooler, denser outdoor air through the eaves.
Wind Effect: Exterior winds moving across the roof plane create positive pressure against the windward side and negative suction on the leeward peak. This pressure differential pulls air up and out of the roof cavity like a natural vacuum.
When balanced correctly, this continuous air cycle keeps attic temperatures within 10°F to 15°F of the exterior ambient air. As outlined in the Asphalt Roofing Manufacturers Association TECHNICAL BULLETIN on Roof Ventilation, maintaining steady airflow prevents chronic thermal stress and is essential for preventing structural roof damage across your rafters and decking.
Intake vs Exhaust: Balancing Attic Airflow Dynamics
A healthy ventilation system operates like a set of lungs: it cannot exhale unless it can inhale.
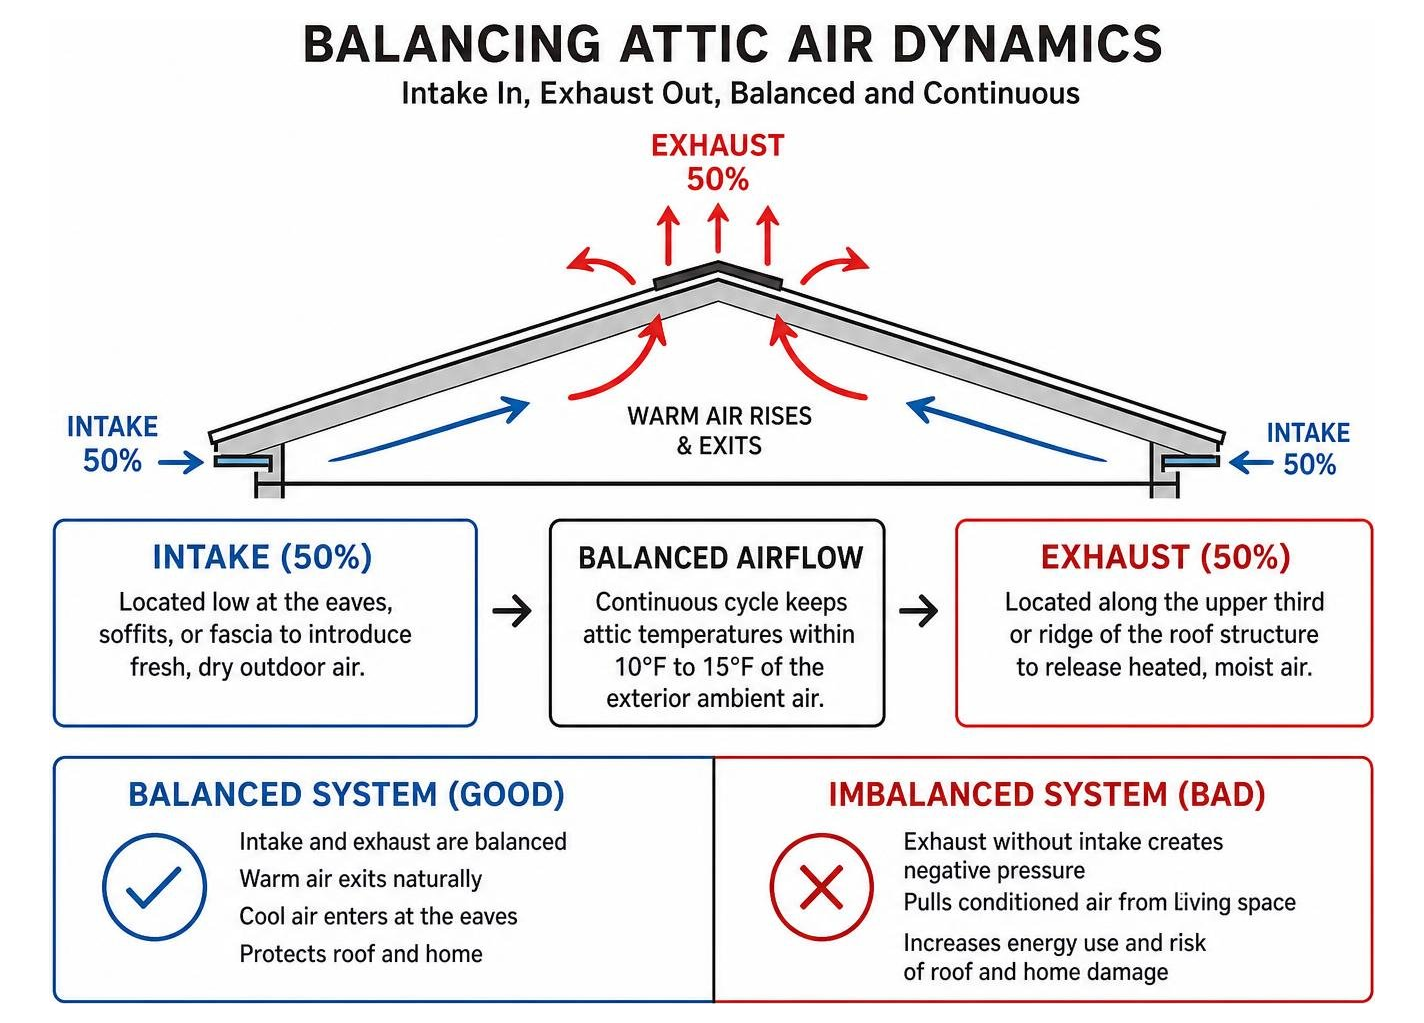
When an attic has plenty of exhaust vents along the ridge but no clear intake at the eaves, the exhaust vents create negative pressure. Instead of pulling fresh outdoor air from the soffits, the roof cavity starts sucking air-conditioned air right out of your bedrooms and living areas through light fixtures, ceiling fans, and attic hatches.
To prevent this imbalance, industry standards recommend a balanced 50-50 distribution:
50% Intake Ventilation: Located low at the eaves, soffits, or fascia to introduce fresh, dry outdoor air.
50% Exhaust Ventilation: Located along the upper third or ridge of the roof structure to release heated, moist air.
If an exact 50-50 split is difficult due to your roof's architecture, having slightly more intake than exhaust creates positive pressure, which is far safer than pulling conditioned air upward from living spaces.
How Proper Roof Ventilation Prevents Severe Roof Damage and Moisture Build-up
While summer heat gets plenty of attention, winter moisture is often the real silent destroyer of residential framing. The average family of four generates 2 to 4 gallons of water vapor every day from cooking, showering, washing clothes, and breathing. Much of that moisture migrates straight up into the unconditioned attic space.
In an unventilated attic during freezing weather, warm interior vapor strikes cold underside roof decking and condenses into liquid water or frost. Over time, this recurring dampness causes wood framing rot, invites dangerous mold colonies, delaminates plywood decking, and rusts metal fasteners.
Trapped attic heat during winter also causes chronic ice damming. Warm air rising to the roof peak melts snow resting on the shingles. The runoff trickles down to the cold, unheated eaves, where it refreezes into thick ice ridges. Trapped water then backs up underneath the shingles and enters your home's walls and ceilings. While installing ice and water shield creates a vital waterproof barrier at vulnerable roof edges, proper ventilation prevents the temperature swings that generate ice dams in the first place.
Calculating Net Free Area: The 1:300 Rule and Sizing Requirements
Before installing vents, you need to calculate the exact Net Free Ventilating Area (NFVA). Net Free Area refers to the actual open, unobstructed space in a vent that permits air movement after accounting for internal screens, louvers, and weather baffles.
The universal benchmark in modern building codes—including the International Residential Code (IRC)—is the 1:300 rule. This standard mandates a minimum of 1 square foot of net free ventilation area for every 300 square feet of attic floor space, provided the system is balanced between intake and exhaust and includes a vapor retarder on the warm side of the ceiling.
Sizing Formulas and the 1:150 Code Variations
In certain situations, local municipal building codes require a stricter 1:150 ratio, which doubles the required ventilation area. This higher standard typically applies when:
The attic space lacks a balanced 50-50 intake and exhaust system.
The home lacks a Class I or II interior ceiling vapor retarder in cold climate zones.
The roof features a low slope (under 4:12 pitch) or cathedral ceiling architecture where air cavities are narrow.
To determine your home's specific requirements, convert square feet of ventilation area into square inches by multiplying by 144 (since 1 square foot = 144 square inches).
Step-by-Step Attic Ventilation Calculation Guide
Here is how you can calculate the exact ventilation capacity required for a standard 1,500 sq ft attic space under the balanced 1:300 rule:
Measure Attic Footprint: Calculate the total square footage of the attic floor (Length × Width). Example: $30\text{ ft} \times 50\text{ ft} = 1,500\text{ sq ft}$.
Apply the 1:300 Ratio: Divide the total attic floor square footage by 300 to find the total required NFVA in square feet. Example: $1,500 \div 300 = 5\text{ sq ft}$ of total ventilation.
Convert to Square Inches: Multiply the square footage by 144. Example: $5\text{ sq ft} \times 144 = 720\text{ sq inches}$ of total NFVA.
Split Between Intake and Exhaust: Divide the total square inches evenly between lower intake and upper exhaust. Example: $720 \div 2 = 360\text{ sq inches}$ for intake and $360\text{ sq inches}$ for exhaust.
Determine Product Unit Counts: Check the manufacturer's NFA rating on your chosen vent products. If a static box exhaust vent provides 50 sq inches of NFA, you would need $360 \div 50 = 7.2$ (rounded up to 8 box vents) or an equivalent linear footage of continuous ridge vent.
Comparing the Main Types of Roof Vents
Different architectural roof designs demand specific ventilation products to move air efficiently without compromising weatherproofing.
Vent Type | Primary Role | Airflow Efficiency | Maintenance Needs | Best Roof Design Compatibility |
|---|---|---|---|---|
Continuous Ridge Vent | Exhaust | Very High (Continuous) | Very Low (No moving parts) | Gable and standard pitched roofs with long ridges |
Static Box / Turtle Vent | Exhaust | Moderate (Localized) | Low | Complex rooflines, hip roofs, or short ridge sections |
Wind Turbine / Whirlybird | Exhaust | High (Wind-assisted) | Moderate (Bearing lubrication) | Windy regions, agricultural outbuildings, sheds |
Continuous Soffit Vent | Intake | Very High (Continuous) | Low (Periodic cleaning) | Standard eaves with wide overhangs |
Drip Edge / Fascia Vent | Intake | Moderate to High | Low | Homes with zero overhangs or narrow boxed eaves |
Gable End Louvers | Both (Wind-driven) | Variable (Cross-flow) | Low | Historic homes and simple dual-pitch gable designs |
Solar / Electric Attic Fans | Exhaust | High (Mechanized) | High (Motor & wiring upkeep) | Large attic volumes, low-slope roofs needing extra pull |
Exhaust Systems: Ridge, Off-Ridge, Static Box, and Turbine Vents
Exhaust systems sit near the roof peak to release rising heat and humidity:
Continuous Ridge Vents: Installed along the entire roof peak and covered with matching cap shingles. Products like the VENT RV10 — Ridge Vent by DriSpace provide continuous passive exhaust along the peak without moving parts, making them the industry gold standard.
Off-Ridge and Static Box Vents: Often called turtle vents or roof louvers, these metal or high-impact polymer caps cover specific holes cut near the ridge line. They are ideal for hip roofs that lack long, continuous horizontal ridges.
Wind Turbine Vents: Traditional wind-driven units, such as the Bradford SupaVent Wind Driven Roof Ventilator, spin in light breezes to mechanically draw air up and out of the attic cavity without electricity.
When maintaining or retrofitting these exhaust components, timely asphalt shingle roof repair prevents leaks around older penetrations and flashing collars.
Intake Systems: Continuous Soffit, Drip Edge, and Fascia Vents
Intake venting is the foundation of any working airflow system:
Perforated and Continuous Soffit Vents: Fitted underneath the eave overhangs, continuous strips provide the most consistent, unobstructed under-eave airflow.
Fascia and Drip Edge Intake Vents: Homes built without overhangs or with exposed decorative rafter tails cannot accommodate traditional soffits. In these homes, specialty rooftop intake vents or vented drip edge flashings allow air to enter under the first course of shingles.
Keeping these intake channels clear requires solid carpentry and well-maintained gutters. Coordinating your gutter layout with modern fascia and soffit panels keeps your intake path free of leaves, nesting pests, and wind-blown debris, while prompt soffit repair services protect the building envelope from rot.
Active vs Passive Vents: Solar, Electric, and Flat Roof Options
While passive systems rely solely on convection and external wind, active ventilation uses motorized fans to mechanically move air:
Electric and Solar Attic Fans: Mounted in gables or on the roof deck, these fans use thermostats and humidistats to run automatically during peak heat. Solar options run entirely off their own photovoltaic panels, cutting electricity costs.
Commercial and Low-Slope Systems: Flat or low-pitch roofs cannot use traditional gravity-driven stack effect vents. Instead, passive systems like the Passive Roof Ventilation System by Masons or engineered profiles such as VENT-A-ROOF maintain continuous drying pathways under metal and membrane systems.
On commercial low-slope buildings, dedicated breathers and mechanical vents are essential components when installing a TPO roof, helping prevent internal moisture entrapment and membrane blistering. Working with professional flat roof repair contractors ensures these low-slope penetrations stay watertight year after year.
Common Mistakes and Warning Signs in Attic Airflow Systems
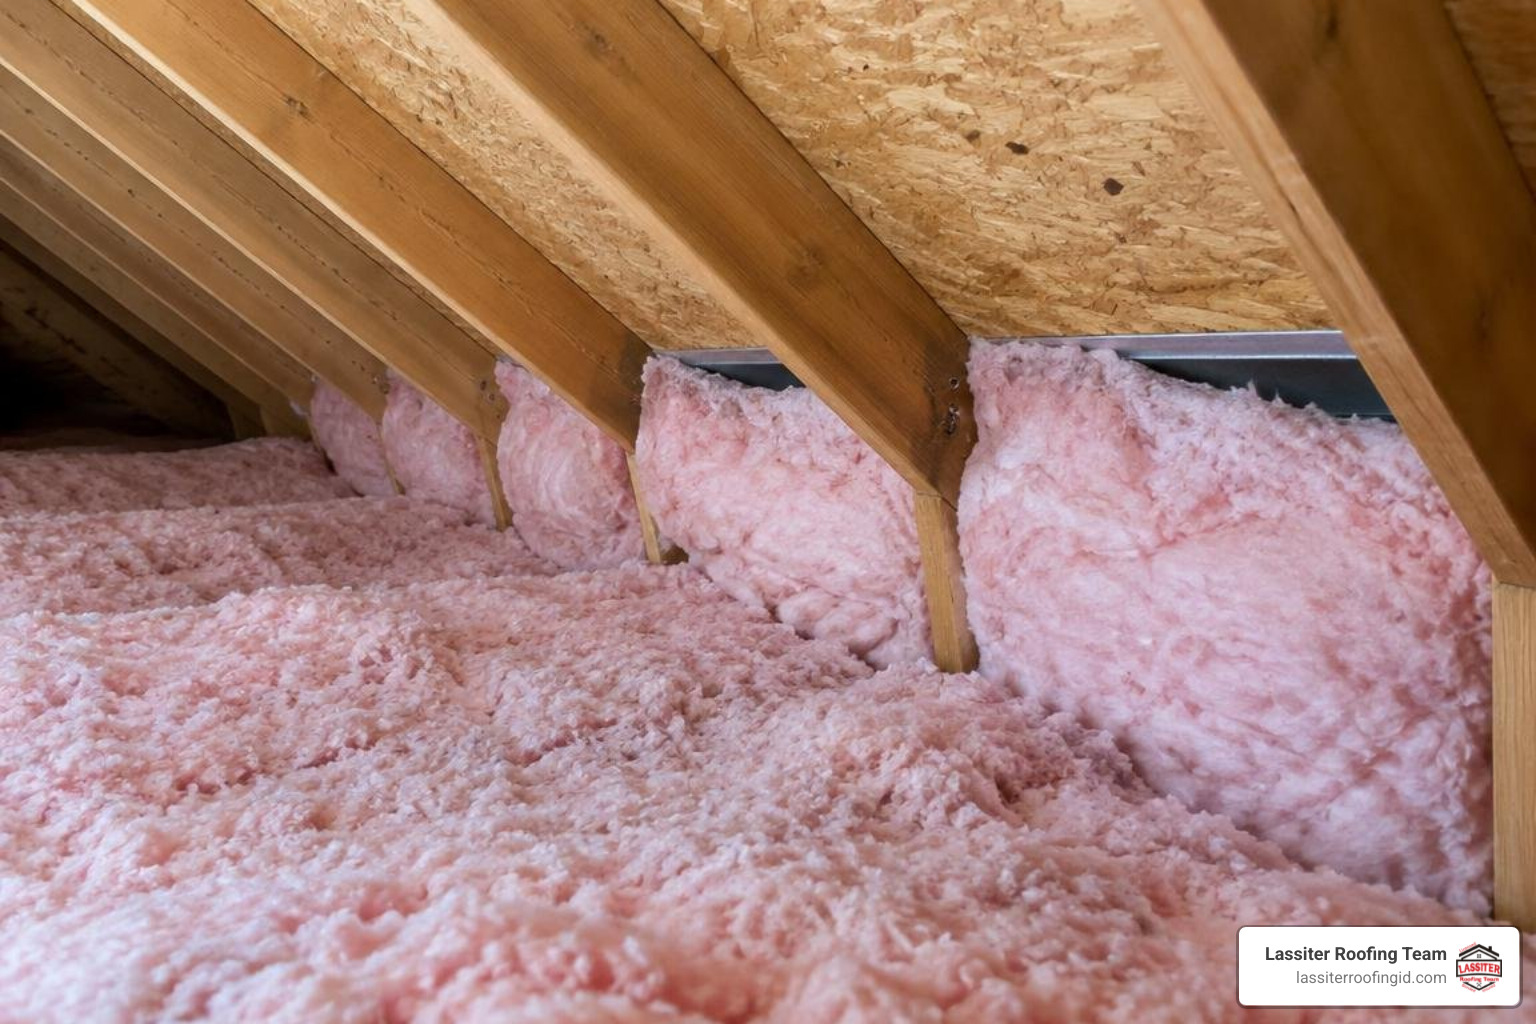
A poorly ventilated attic rarely stays hidden for long. Watch for these clear warning signs:
Attic temperatures running more than 20°F hotter than outdoor air in summer.
Moisture droplets, rust on framing nails, or white/black mildew staining attic decking.
Thick ice dams forming along lower gutters and eaves every winter.
Prematurely curling, cracked, or brittle shingles that look prematurely aged.
Peeling exterior paint near soffits or unexplained spikes in cooling bills.
Critical Mistakes in Roof Ventilation to Avoid
Even seasoned builders can make design mistakes that compromise airflow:
Mixing Ridge Vents with Gable Vents: This is one of the most common attic ventilation mistakes. Gable vents introduce a horizontal cross-breeze right below the ridge, breaking the natural stack effect. This "short-circuits" the airflow, leaving the lower attic stale while pulling outside moisture and rain directly in through the gable louvers. As detailed in this guide on Roof Gable Vents, you should almost always seal up existing gable openings when converting to a soffit-to-ridge system.
Smothering Soffits with Blown-In Insulation: When adding blown-in cellulose or fiberglass, insulation can easily spill over exterior wall top-plates and block the soffits. Installing rigid rafter baffles (insulation stops) in every rafter bay keeps the air passage completely clear.
Mixing Powered Fans with Passive Ridge Vents: Installing a high-powered electric fan in an attic that already has a ridge vent creates reverse airflow. The motorized fan pulls its makeup air from the nearby ridge vent above it rather than drawing air from the soffits below, leaving the rest of the attic unventilated.
2026 Roof Ventilation Installation and Upgrade Costs
In 2026, the national average cost to install or upgrade roof ventilation ranges between $300 and $2,000, with most residential standalone retrofits landing between $500 and $1,200.
Ventilation Project Type | Average Installed Cost (2026) | Primary Cost Drivers |
|---|---|---|
Ridge Vent Retrofit (30–50 linear ft) | $450 – $950 | Ridge cap shingle removal, decking cuts, new vent install |
Soffit Vent Upgrades & Baffles | $350 – $800 | Carpentry access, rafter clearing, baffle installation |
Static Box / Turtle Vent Installation | $300 – $600 | Shingle flashing integration, number of roof penetrations |
Solar-Powered Attic Fan Installation | $650 – $1,400 | Quality of solar panel, motor size, roof slope accessibility |
Hardwired Electric Attic Fan | $500 – $1,100 | Electrical circuit wiring, thermostat installation, framing |
Upgrading ventilation during a comprehensive roof installation project is significantly more cost-effective than doing it as a standalone job, because the decking, flashings, and ridge lines are already exposed.
Addressing ventilation issues promptly alongside regular roof repair delivers strong long-term returns: proper airflow can extend shingle lifespan by 5 to 10 years and lower summer household cooling costs by 10% to 15%.
Frequently Asked Questions About Roof Ventilation
Can I add roof ventilation without replacing my entire roof?
Yes. Professional roofing contractors can easily cut new ridge slots, insert static roof louvers, install under-eave soffit vents, or add solar-powered attic fans as standalone retrofits. As long as your existing shingles remain flexible and in good condition, flashings can be installed neatly beneath them to keep every new opening watertight.
What happens if an attic has more exhaust than intake ventilation?
When exhaust capacity exceeds intake, the attic space develops negative air pressure. The exhaust vents end up pulling air up from your air-conditioned living spaces through drywall joints, recessed ceiling fixtures, and attic hatches. This raises your cooling bills, introduces interior humidity to the roof deck, and can pull wind-driven rain backwards into static exhaust vents during storms.
Does improper attic ventilation void shingle manufacturer warranties?
Yes. Nearly all major asphalt shingle manufacturers explicitly require adequate, code-compliant attic ventilation (typically meeting the 1:300 standard) as an express condition of their limited warranties. If an inspection reveals that shingle cracking, granule loss, or blistering was caused by excessive heat in an unventilated attic, your warranty claim will likely be denied.
Conclusion
A well-designed roof ventilation system is essential for protecting your home year-round. By pairing continuous, unobstructed intake along the eaves with matched exhaust at the roof peak, you create a natural airflow cycle that cools your home in summer, controls moisture in winter, and helps your shingles last for years to come.
Whether you need to resolve ice damming, improve your home's energy efficiency, or replace an aging roof, Lassiter Roofing brings over 30 years of hands-on expertise to every project across Idaho's Western Treasure Valley. We back our residential, commercial, and agricultural installations with individually quoted, transparent pricing and an industry-leading 5-year workmanship warranty. Contact our team today to request a free estimate and ensure your roof ventilation system is built to last.


