


Compare Roof Installation Costs: A Quick Start Guide
Roof Installation Costs: What to Plan for First
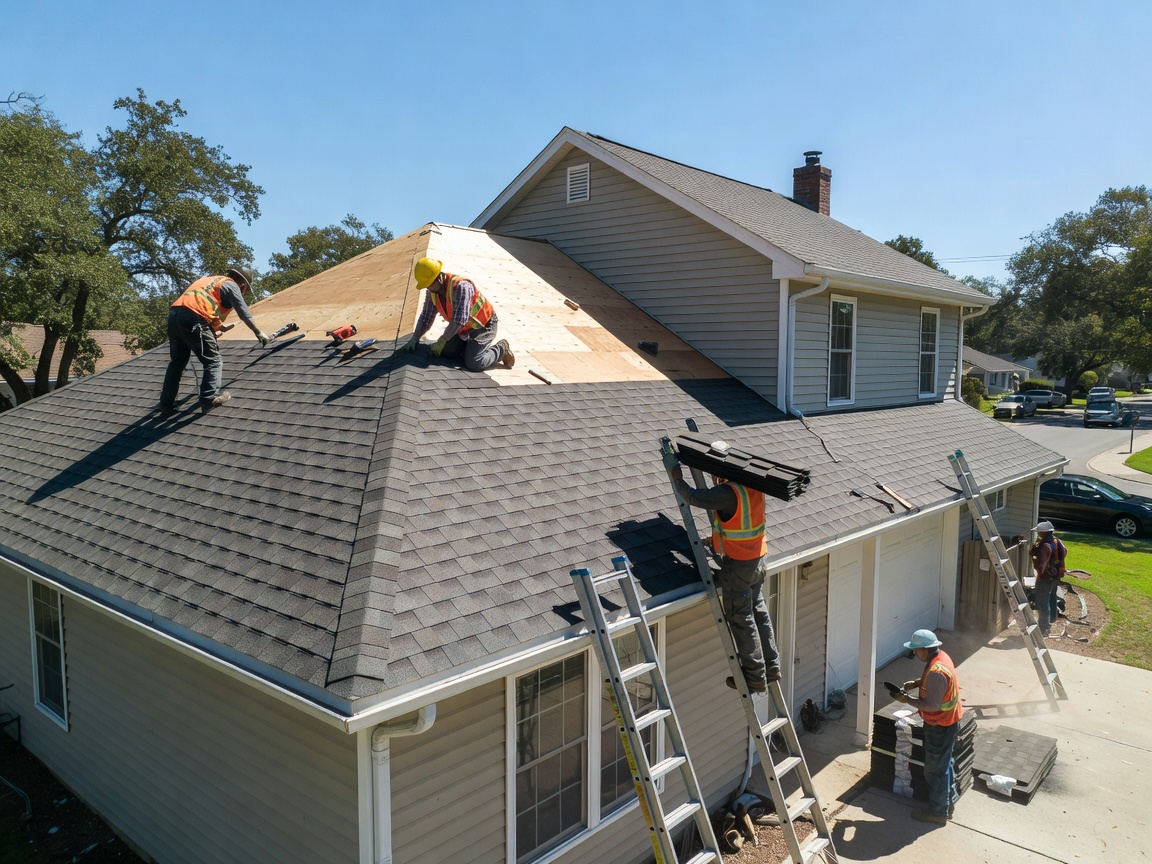
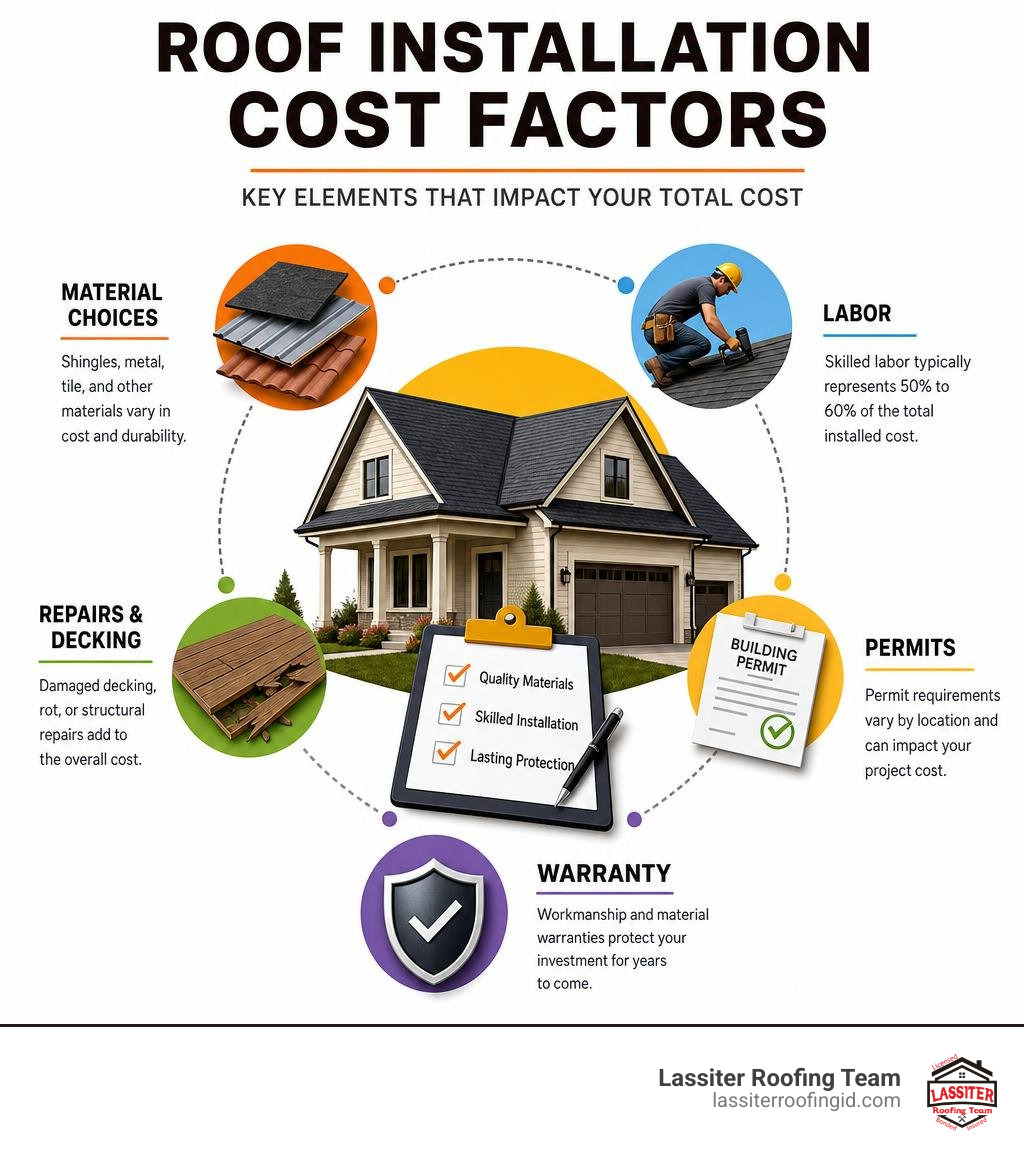
A professional roof installation starts with a roof measurement, material choice, and an inspection of the existing deck. For a typical 2,000-square-foot home, a full replacement in 2026 often costs $8,000 to $25,000. Asphalt shingles are usually the most budget-friendly option, while metal, tile, complex roof shapes, steep slopes, damaged decking, and permit requirements can raise the total.
The most useful way to compare quotes is to make sure each one includes the same scope:
Tear-off, disposal, and deck repairs
Underlayment, ice-and-water barrier, drip edge, and flashing
Ventilation, materials, labor, permits, and workmanship warranty
Labor commonly represents 50% to 60% of installed cost, so the lowest bid is not always the best value. A roof is a complete water-management system, not just shingles or metal panels. Good installation details help prevent leaks, protect the attic, and support the roof's expected lifespan.
I am Kason Walton, owner of Lassiter Roofing Team, with experience in construction, real estate, and more than 30 years of residential, commercial, and agricultural roof installation service in Idaho's Western Treasure Valley. As a Firefighter EMT and roofing professional, I focus on clear pricing, safe work, and roof systems built for local weather.
Understanding Roof Installation Costs by Material and Size
Nationwide, the average cost to replace a roof hovers around $8,000, with most homeowners spending between $5,500 and $11,000. However, extensive projects involving high-end profiles or standing seam metal systems can reach up to $46,000. When calculating your overall budget, according to Zillow, a roof replacement typically returns around 60% of its value when you sell your home, making it one of the most reliable exterior investments you can make.
Several primary structural variables dictate your project's total price tag:
Total Square Footage: In roofing terminology, materials and labor are priced per "square" (a 100-square-foot section of roof deck).
Roof Pitch and Steepness: Roof pitches greater than 8:12 increase labor expenses by 10% to 25% because crews must deploy specialized staging platforms and harness systems.
Tear-Off and Disposal Fees: Removing existing layers of worn shingles and hauling away heavy debris requires dedicated dumpster rentals and disposal fees.
Architectural Complexity: Dormers, intersecting hips, and deep valleys demand meticulous custom flashing fabrication and extra setup time.
Roofing Material | Typical Installed Cost (per sq. ft.) | Average Total Range (2,000 sq. ft. Home) | Expected Lifespan | Labor Intensity |
|---|---|---|---|---|
Architectural Asphalt Shingles | $4.35 – $9.80 | $8,700 – $19,600 | 25 – 30 Years | Moderate (1–3 Days) |
Exposed-Fastener Metal Panels | $7.00 – $14.00 | $14,000 – $28,000 | 30 – 50 Years | Moderate |
Standing Seam Metal | $14.00 – $25.00 | $28,000 – $46,000+ | 50 – 70 Years | High (Specialized seaming) |
Single-Ply Membrane (TPO / Flat) | $5.00 – $11.00 | $10,000 – $22,000 | 20 – 30 Years | Moderate (Heat-welded seams) |
Concrete & Natural Clay Tile | $10.00 – $30.00 | $20,000 – $60,000 | 50 – 100+ Years | Very High (6–12 Days) |
Asphalt Shingles, Metal Roofing, and TPO Membrane
Selecting the right roofing material balances curb appeal, initial budget, and architectural style. Architectural asphalt shingles remain the leading residential choice due to their multi-layered dimensional look, high wind ratings, and cost-effective installation. For homeowners seeking an attractive and dependable upgrade, choosing a dedicated shingle roofing installation in the Treasure Valley provides decades of weather protection.
If you are looking for exceptional durability and energy efficiency, a standing seam metal roof installation offers concealed fasteners and heavy-gauge steel that reflect solar heat and easily shed heavy snow. Meanwhile, low-slope additions, modern residential flat extensions, and commercial properties benefit from a seamless TPO flat roof installation, which relies on heat-welded seams to form a continuous, waterproof barrier over flat decking.
Labor, Decking Repairs, and Permitting Fees
Labor accounts for 50% to 60% of the total installed cost on most residential projects. Beyond physical labor, your project budget must account for underlying structural repairs. During the initial tear-off stage, hidden rot or water-damaged sheathing is often discovered around aged eaves and valleys. Replacing damaged structural panels typically costs between $75 and $110 per sheet of plywood or OSB.
Skipping proper local building permits to save a few dollars is a costly mistake. Following local building codes (such as IRC Chapter 9) and manufacturer specifications—such as those found in the Owens Corning Roofing Installation Guide—guarantees your roof meets mandatory wind and moisture resistance standards. Pulling proper permits protects you during future home appraisals and prevents insurance claim disputes after severe weather events.
Essential Components of a Durable Roofing System

A functional roof is an integrated water-shedding system. Over 70% of all premature roof failures stem from installation errors rather than material defects, making every underlying layer critical.
Underlayment, Ice Barriers, and Flashing Details
A resilient roofing assembly relies on multiple layers working together:
Roof Decking Substrate: Flat 7/16-inch OSB or 3/8-inch plywood sheets, spaced with a 1/8-inch expansion gap to prevent thermal buckling.
Drip Edge Flashing: Metal profiles installed along the eaves beneath the underlayment, and over the underlayment along the rake edges.
Self-Adhering Ice Barrier: An ASTM D1970 compliant ice-and-water shield applied along eaves, valleys, and wall junctions, extending at least 24 inches inside the home's interior heated wall line.
Synthetic Underlayment: A high-traction, tear-resistant secondary moisture barrier rolled out horizontally from eave to peak.
Valley and Penetration Flashing: Heavy-gauge open metal flashings and continuous step flashing woven into each course along sidewalls, detailed thoroughly in guides like the McElroy Metal Roof Installation Manual.
Attic Ventilation Math and Structural Airflow
A balanced attic ventilation system prevents high summer attic temperatures and halts winter ice damming. Building codes require a baseline Net Free Vent Area (NFVA) ratio of 1:150, which can be optimized to 1:300 when balanced between low and high roof points.
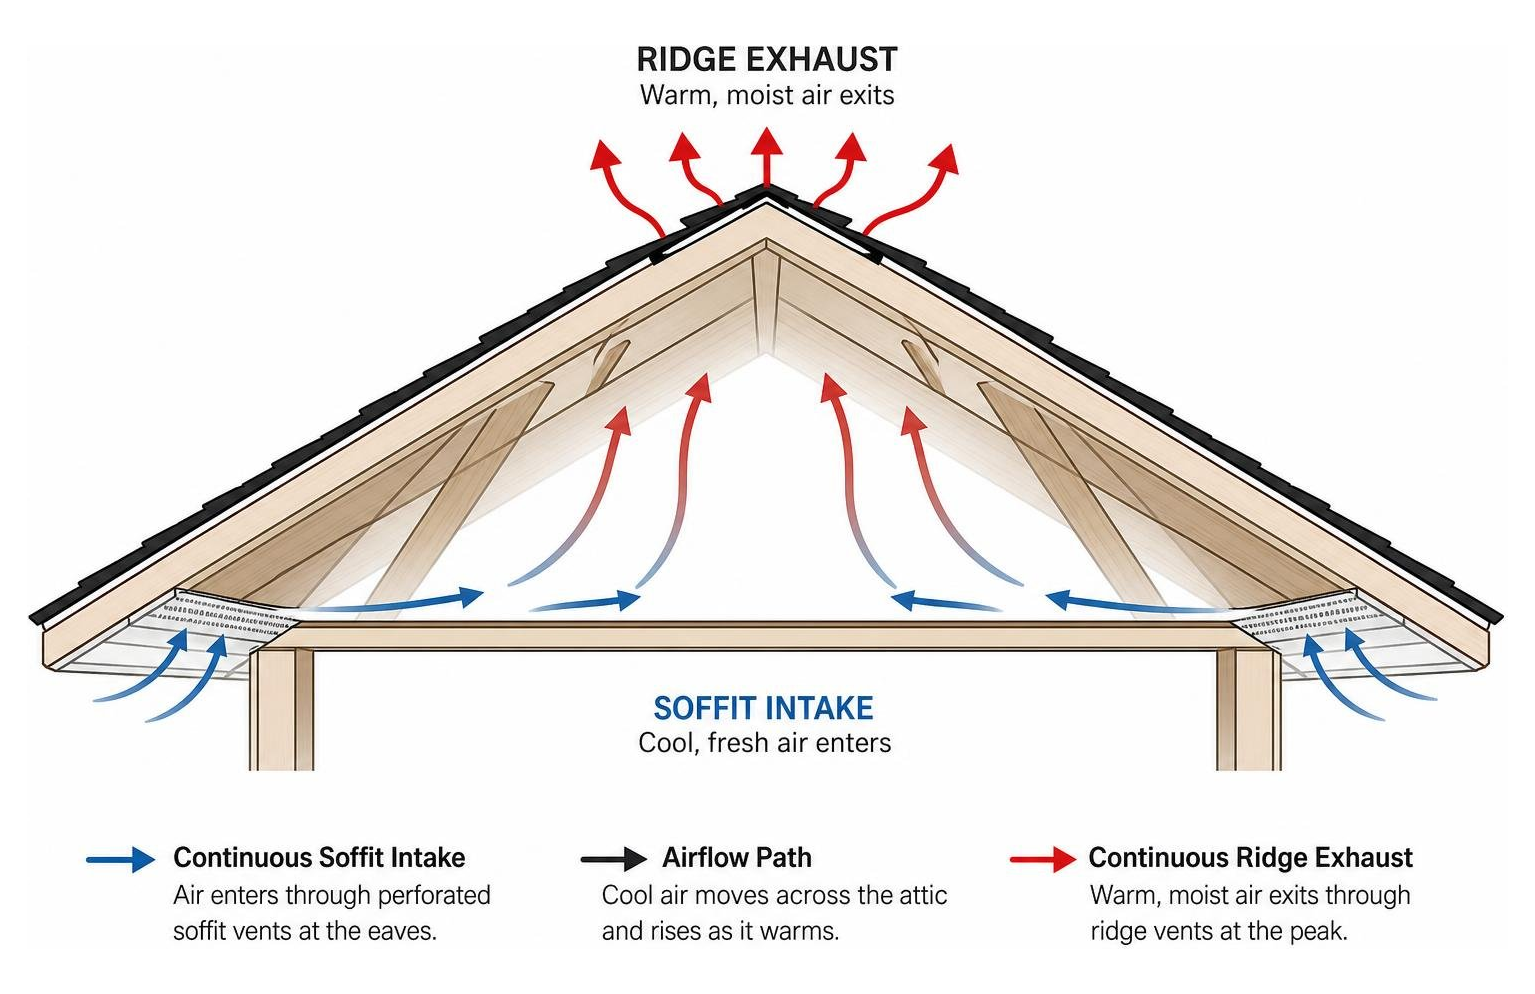
Air enters through continuous soffit vents at the eaves and exits through continuous ridge vents along the peak. Maintaining a slight 10% to 25% intake surplus creates natural positive pressure, actively sweeping out trapped heat and humidity.
The Step-by-Step Execution of a Replacement Project
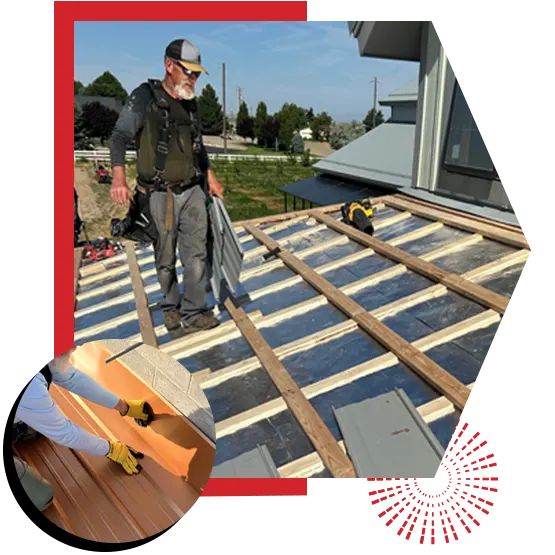
Executing a clean, long-lasting installation requires strict safety protocols, OSHA-compliant personal fall arrest systems, and clean jobsite management.
The Multi-Stage Roof Installation Sequence
A disciplined sequence guarantees full weather resistance:
Full Tear-Off and Surface Prep: Stripping away all old materials down to bare wood, pulling protruding fasteners, and swapping out rotted sheathing.
Eave Metal and Valley Defense: Fastening the metal drip edge directly to the eave decking and lining all valleys with thick, self-adhering waterproofing membrane.
Underlayment Installation: Rolling synthetic underlayment across the roof deck with horizontal overlaps of at least 2 to 4 inches, followed by rake edge flashing.
Starter Course Application: Securing dedicated starter strips along the eaves to create an adhesive seal for the bottom shingle edges.
Field Material and Step Flashing: Installing the field courses with code-compliant nailing patterns (4 to 6 nails per shingle), setting step flashing along rising walls.
Capping and Sealing: Cutting open the roof deck at the peak for the ridge vent, securing protective ridge cap units, and sealing penetrations in accordance with standard industry practices outlined in the ROOF SYSTEM INSTALLATION GUIDE.
Professional vs. DIY Roof Installation Considerations
While handling minor shingle repairs on a low-pitch porch can be a reasonable DIY project, taking on a full residential re-roof carries significant physical and financial risks. Falls remain a leading hazard in residential construction, and an incorrectly installed flashing sequence can trap moisture behind your exterior siding for years before leaks appear inside.
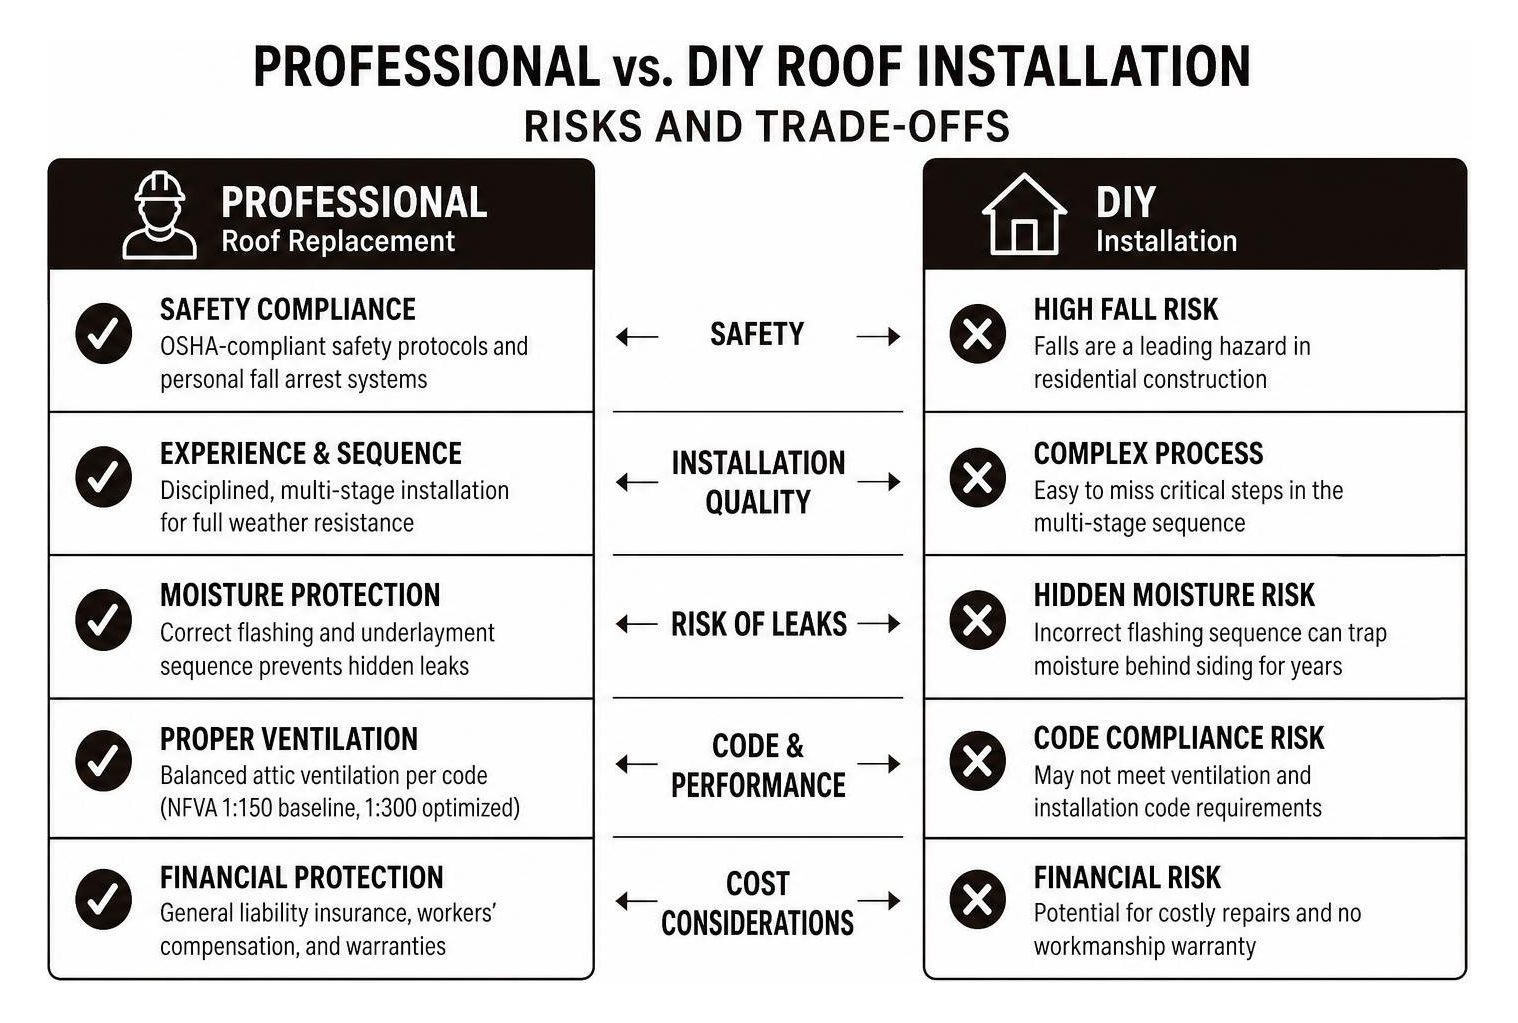
When vetting local contractors, verify that they carry active general liability insurance and workers' compensation. Ask for proof of permits pulled for recent jobs, verify their physical business address, and ensure they provide written, itemized proposals paired with clear workmanship warranties.
Frequently Asked Questions About Roof Replacements
How long does a standard residential roof replacement take?
A typical asphalt shingle replacement on a home under 3,000 square feet takes 1 to 3 days under favorable weather conditions. Day one is focused on tear-off, decking repairs, and underlayment installation, while day two covers field shingle placement, flashing, ridge venting, and magnetic sweep cleanup. Heavy tile or custom standing seam metal installations take 6 to 12 days due to panel fabrication, tile alignment, and specialized seaming work.
How do I know whether my roof needs a repair or full replacement?
If your asphalt shingle roof is approaching 20 to 25 years of age (roughly 80% to 85% of its expected lifespan), widespread granule loss is filling your gutters, shingles are curling, or leaks are occurring in multiple distinct spots, a complete replacement is the safest and most economical choice. If you are unsure about the underlying condition of your roof, scheduling a free roof inspection will help identify whether targeted maintenance or a full replacement is needed.
What is the difference between step flashing and counterflashing?
Step flashing consists of individual "L"-shaped pieces of sheet metal bent at 90-degree angles and woven into each shingle course where a sloped roof meets a vertical wall or dormer. Counterflashing is a secondary metal profile fastened directly to an adjoining masonry chimney or concrete wall—often seated into a cut mortar groove (kerf)—that hangs down over the vertical lip of the step flashing. This two-part system allows the roof deck and masonry walls to expand and contract independently without breaking the watertight seal.
Conclusion

A successful roof replacement protects your property and preserves home equity for decades. Ensuring your project includes quality underlayments, balanced ventilation, and experienced installation prevents costly leaks down the road.
Backing our work with over 30 years of local experience, the Lassiter Roofing Team delivers individually quoted, competitive pricing and a dependable 5-year workmanship warranty on residential, commercial, and agricultural roofs across Idaho's Western Treasure Valley. When you are ready to explore your options, request a free estimate or reach out to our Treasure Valley roofing experts to build a safe, durable roof system tailored to your home.


