



Why Every Long-Lasting Wood Roof Relies on a Dedicated Cedar Breather
Why a Cedar Breather Matters for a Wood Roof
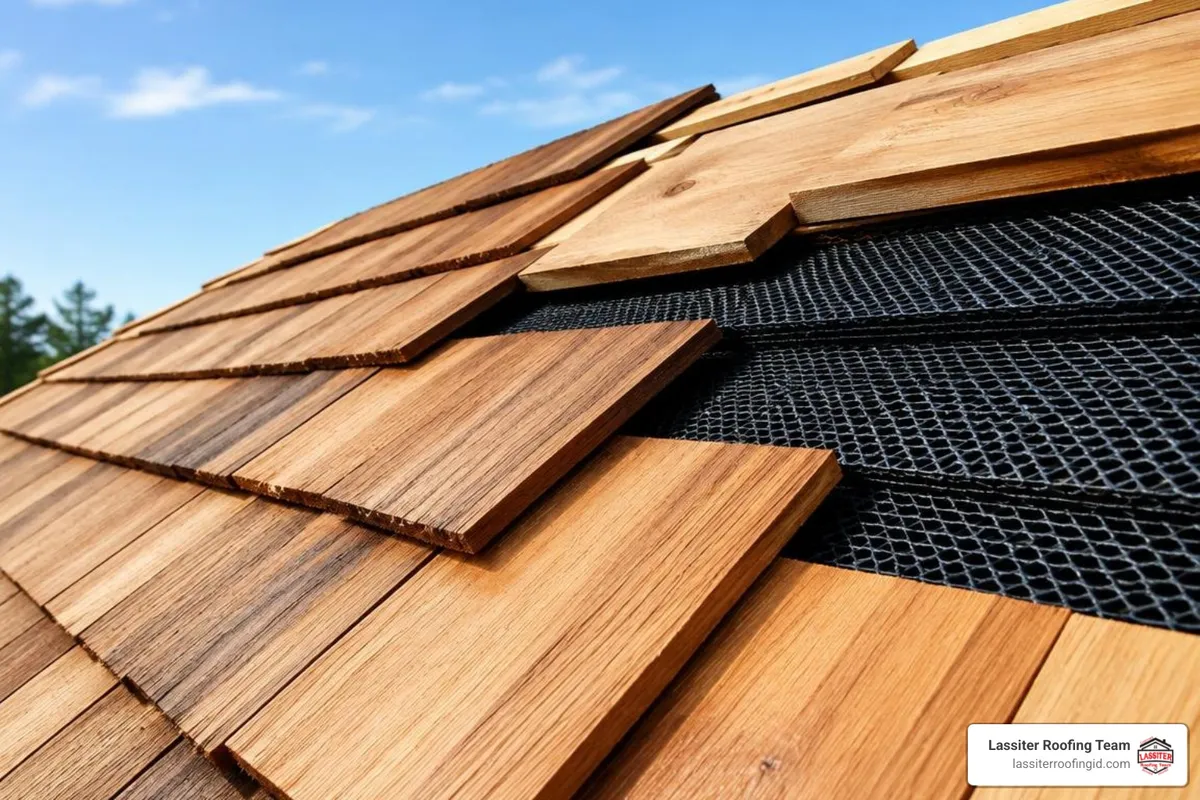
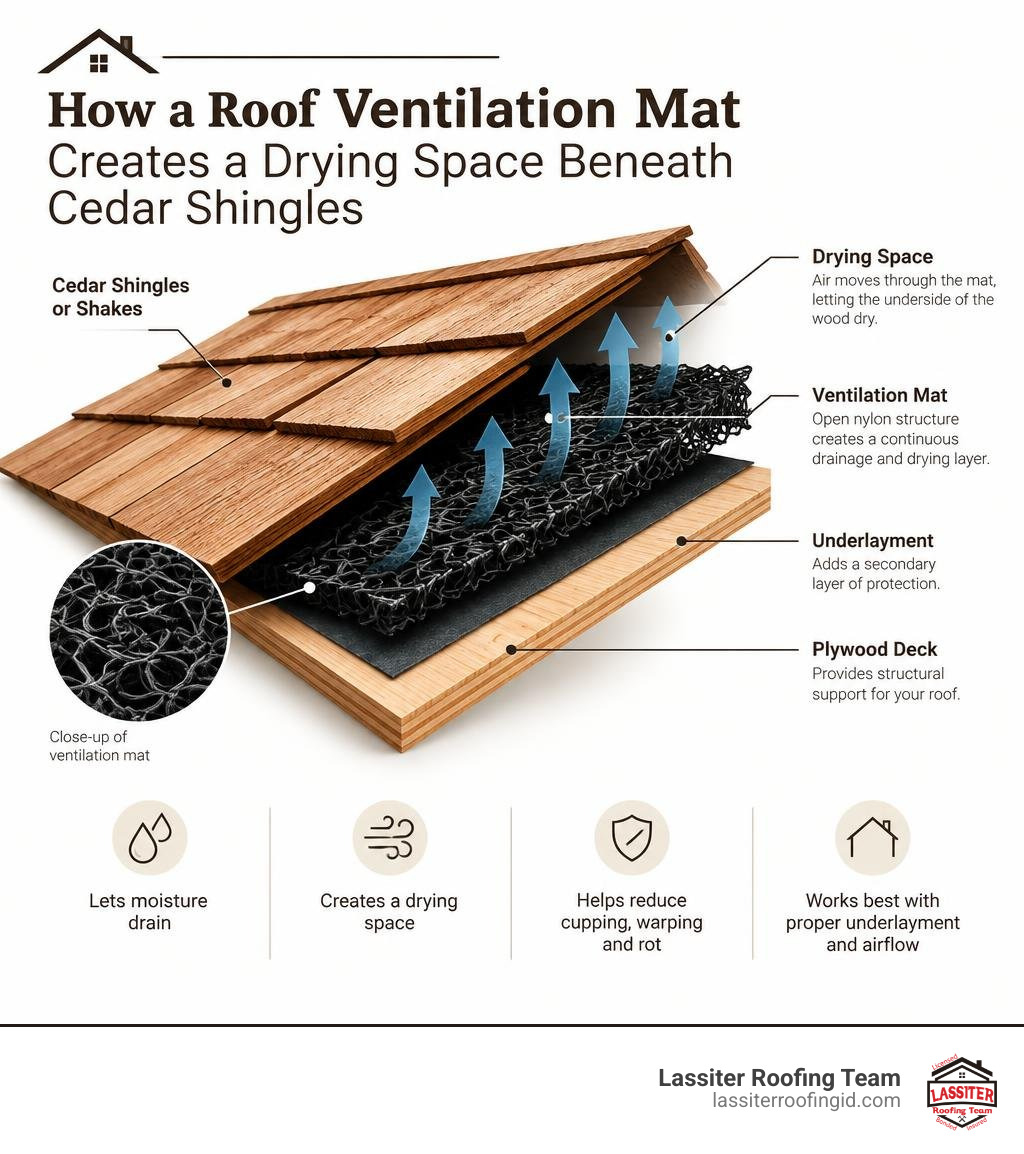
Cedar Breather is a ventilation mat placed beneath cedar shingles or shakes. Its open nylon structure gives moisture a path to drain and lets the underside of the wood dry. That can reduce the risk of cupping, warping, and rot. For the mat to work well, the roof also needs proper underlayment and a clear path for air to enter and leave.
I'm Kason Walton, owner of Lassiter Roofing Team. My construction background and our team's 30-plus years of roofing experience shape how I assess whether a cedar breather for roof ventilation fits a homeowner's project.
What Is a Cedar Breather and Why Does Your Roof Need It?
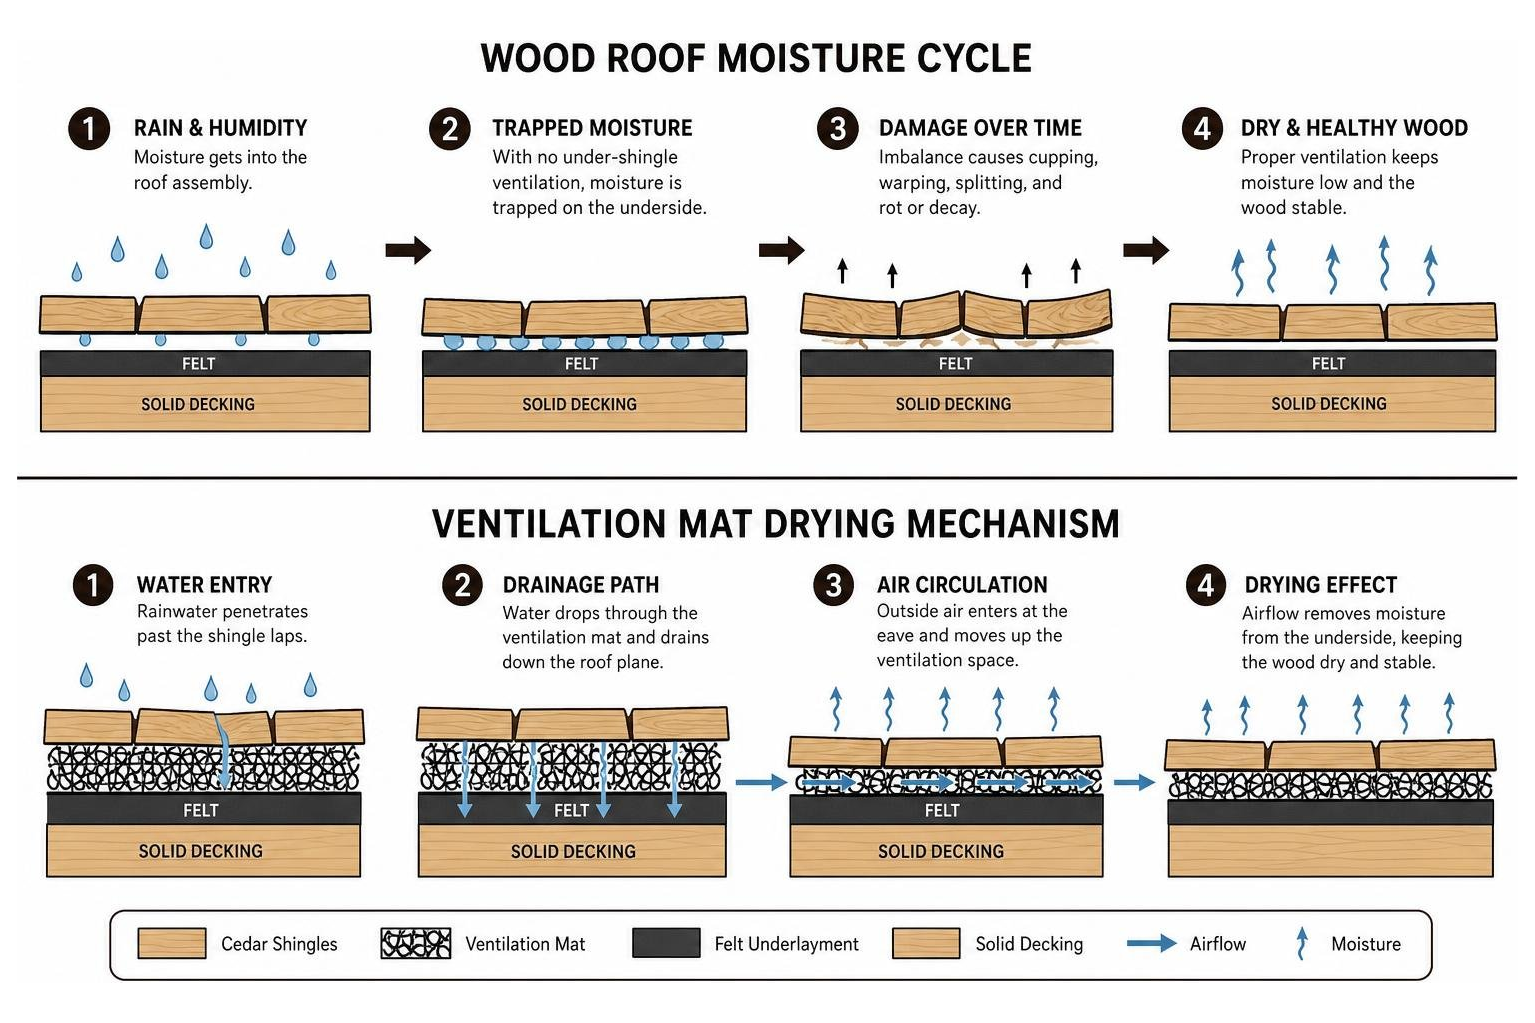
Wood shingles and shakes are among the most attractive, time-tested building materials in the world, but they have a distinct organic vulnerability: wood expands when wet and contracts when dry. When you install natural wood shakes flush against solid plywood sheathing covered in non-breathable felt, moisture gets trapped on the underside. The top face bakes in the sun and dries out quickly, while the unexposed underside remains damp. This severe moisture imbalance creates internal mechanical stress that causes wood shingles to curl, split, and decay decades before their time.
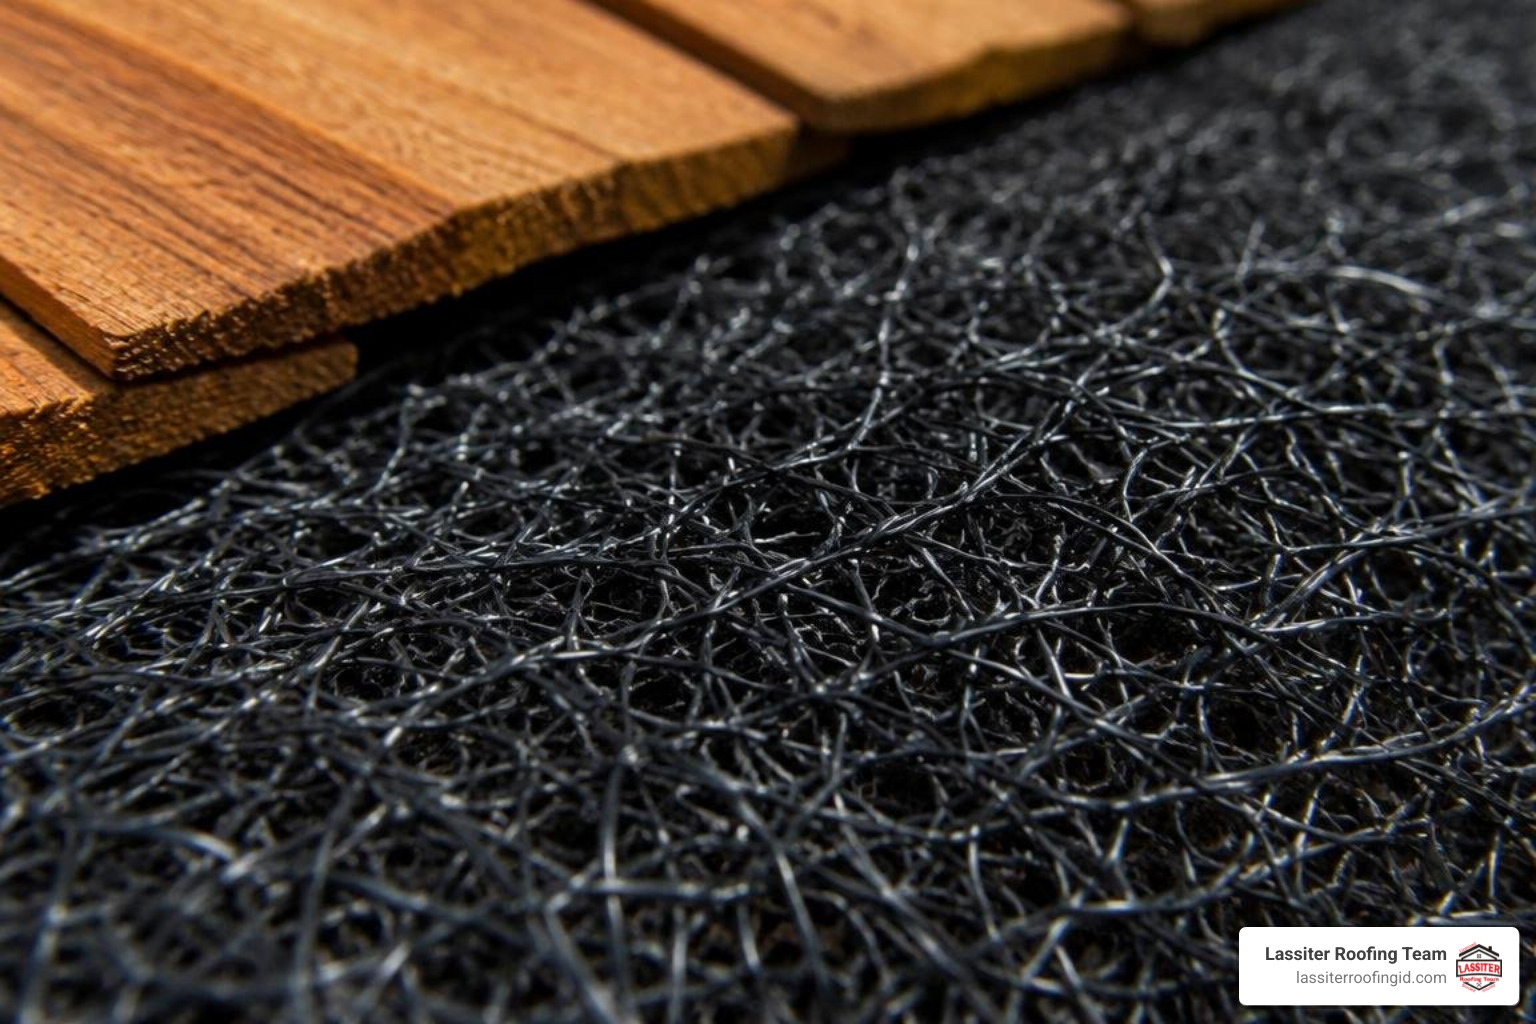
A modern, high-performance Cedar Breather® Roof Ventilation Mat solves this fundamental moisture dilemma. Instead of resting flat against the deck, wood roofing installed over this specialized mat sits atop a continuous, flexible airspace. Engineered as a three-dimensional matrix of tangled, extruded nylon monofilaments heat-welded at their junctions, the mat creates an uninterrupted drainage channel and convective drying layer.
By allowing ambient outdoor air to circulate continuously across the underside of every shingle, this dedicated layer delivers several vital performance advantages:
Thermal Cupping Prevention: Moisture content remains uniform across both the exposed upper face and the unexposed underside, eliminating differential expansion stresses.
Rot and Decay Elimination: Eliminating trapped water deprives wood-decaying fungal spores of the sustained damp environment they need to colonize the wood fiber.
Hail Cushioning: The resilient nylon matrix acts as a shock-absorbing buffer, softening direct structural impacts from hail stones.
Active Drainage: Any water that penetrates past surface lap joints drains straight down the roof plane harmlessly over the underlying felt instead of puddling against the cedar.
Technical Specifications of a Cedar Breather for Roof Systems
Roofing materials undergo significant thermal expansion, structural load shifting, and seasonal weather extremes. To protect the roof assembly over decades, ventilation mats must meet stringent engineering metrics rather than crushing under everyday installation and snow loads.
Reviewing the manufacturer's published WOOD ROOFING UNDERLAYMENT Technical Specs confirms why this specific nylon matrix remains the industry benchmark:
Specification Parameter | Standard Value / Measurement | Performance Impact |
|---|---|---|
Roll Dimensions | 39 inches (1.0 m) wide × 61.5 feet (18.75 m) long | Efficient roof coverage with minimal seams |
Coverage Area | 200 sq. ft. (plus or minus 2 sq. ft.) per roll | Simplified material staging and ordering |
Material Thickness | 0.285 inches (about 1/4-inch nominal profile) | Provides adequate convective airflow cavity |
Compressive Resistance | Compresses minimally: 0.27 in at 0 lb/sq ft to 0.25 in at 200 lb/sq ft | Resists crushing from snow loads and nailing |
Fire Safety Rating | Class A Fire Rating | Highest fire resistance for residential building envelopes |
UV Resistance Limit | 30 Days Maximum Direct Sunlight Exposure | Allows flexible installation staging windows |
Material Composition | Heat-welded extruded nylon polymer matrix | Impervious to rotting, corrosion, and biological decay |
Cedar Breather vs. Traditional Furring Strips
Before the development of engineered matrix mats, roofers installed wood shingles over horizontal 1x2 or 1x3 wood battens (furring strips) or skip sheathing to allow airflow underneath. While furring strips allow air to move laterally, they present distinct drawbacks when applied on modern, solid plywood roof decks.
Furring strips add extensive labor costs, require thousands of extra deck fasteners, create discontinuous support lines that can cause shingles to fracture when stepped on, and restrict vertical drainage by acting as small horizontal water dams.
Applying modern roof installation best practices highlights why a three-dimensional matrix mat offers superior reliability over old batten methods:
Feature / Metric | Cedar Breather 3D Matrix | Wood Furring Strips (Battens) | Standard Underlayment Only |
|---|---|---|---|
Airflow Directionality | Continuous 360° multidirectional airflow | Unidirectional lateral flow; blocks vertical draft | Zero underside airflow |
Deck Support Profile | Continuous, uniform load distribution | Gapped lines; high risk of shingle breakage | Continuous solid support |
Installation Labor | Rapid unroll-and-tack installation | High labor; measuring, leveling, framing | Single layer application |
Drainage Capacity | Unobstructed gravity runoff down roof slope | Horizontal dams trap moisture and debris | Prone to trapped water puddles |
Shingle Nailing Simplicity | Fasteners hit solid deck anywhere | Nails must land squarely on narrow wood strips | Nails hit deck anywhere |
Vermin & Pest Resistance | Dense nylon mesh blocks insect nesting | Open gaps can harbor wasps and nesting insects | N/A |
How to Correctly Install a Cedar Breather for Roof Performance
A roof system is only as dependable as its execution. Installing a matrix mat does not require exotic trade tools, but it demands strict adherence to sequencing, fastening patterns, and overlap protocols.
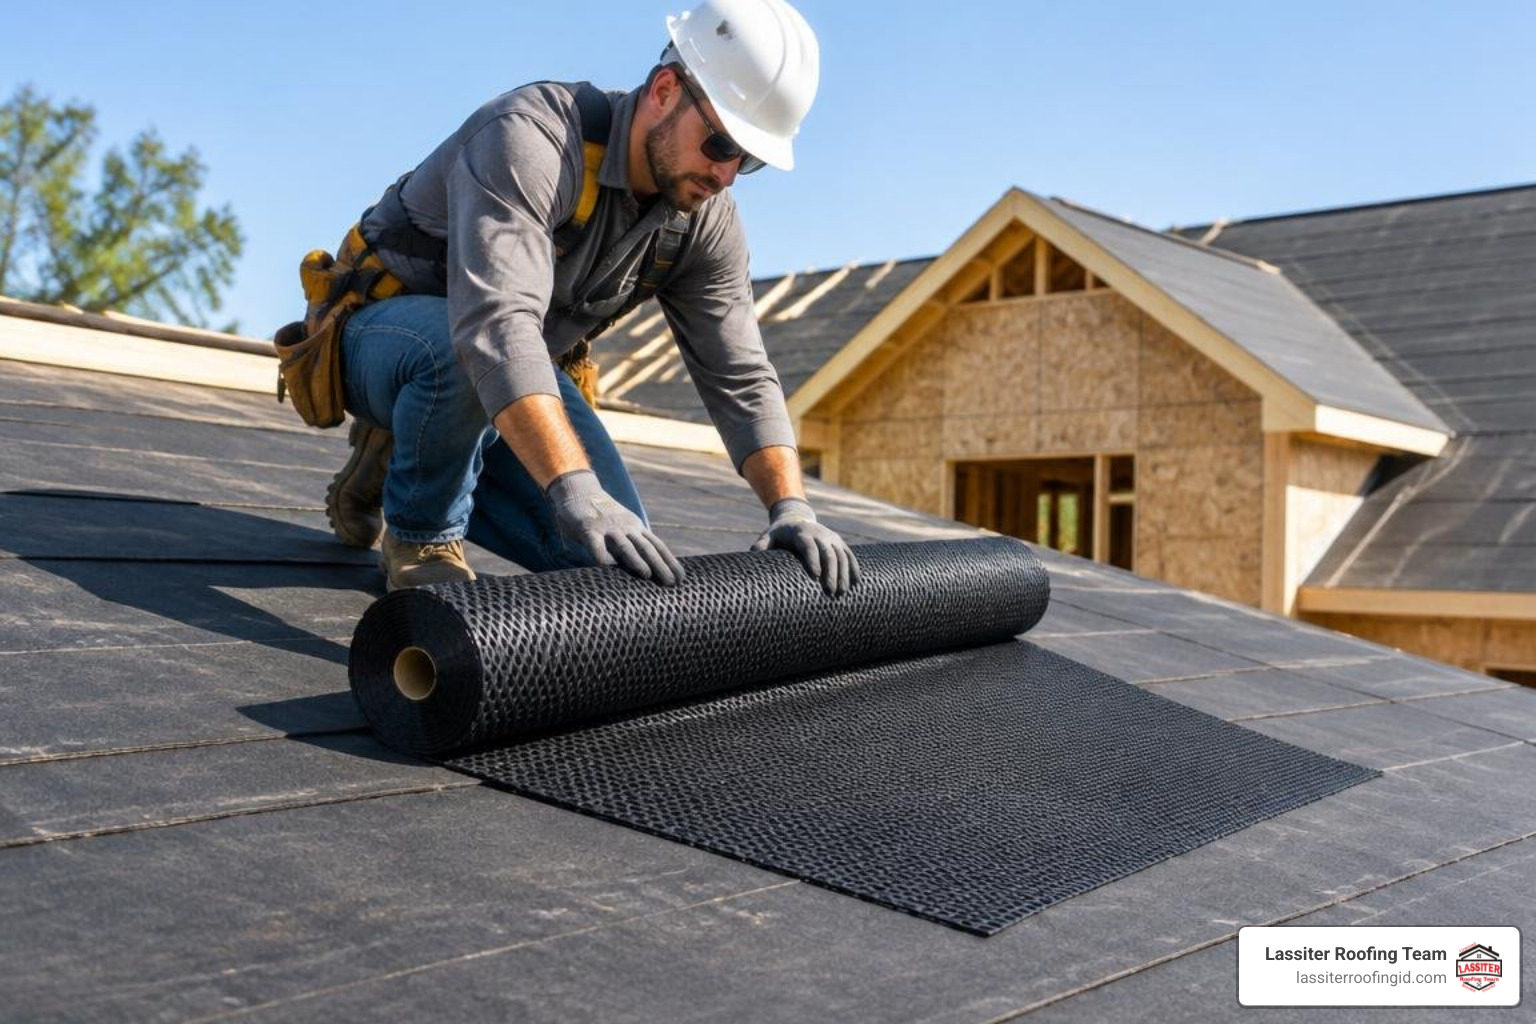
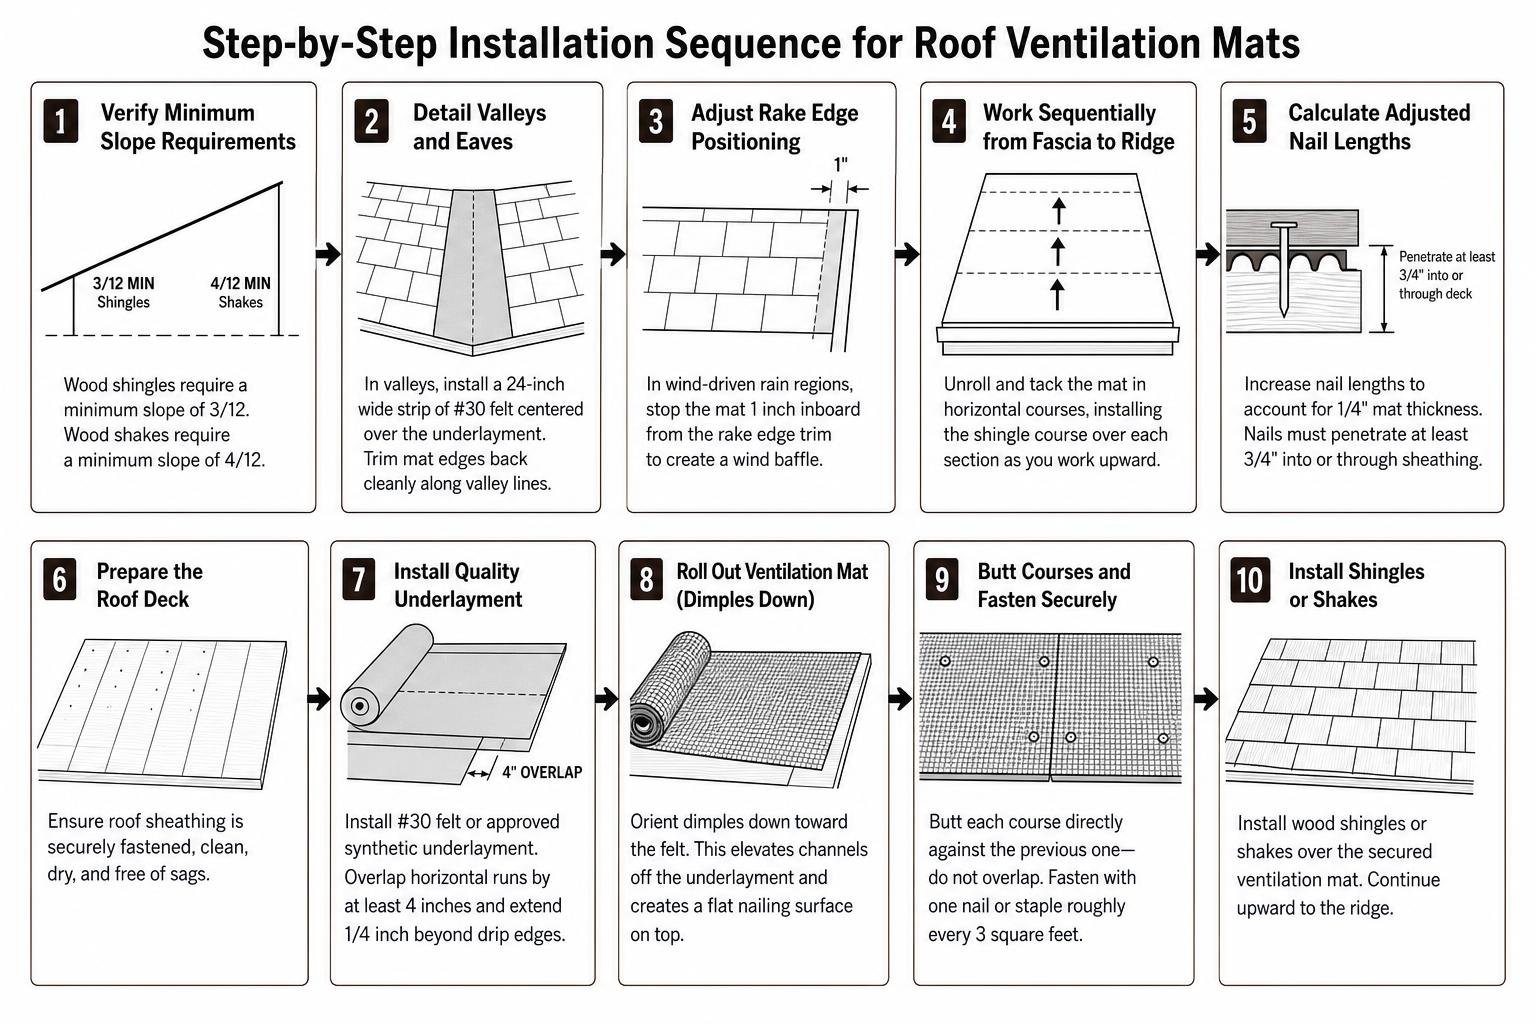
Proper preparation begins at the roof deck. Verify that all plywood or OSB roof sheathing is securely fastened, free of structural sags, clean, and completely dry. Next, install a high-quality building-code-approved underlayment, such as #30 asphalt-saturated felt or an approved vapor-permeable synthetic underlayment. The underlayment provides the primary waterproof shedding layer directly against the deck, with horizontal runs overlapped by at least 4 inches and extending 1/4 inch beyond all drip edges.
When rolling out the ventilation mat, always orient it dimples down toward the felt. This orientation creates the optimal, flat nailing surface on top for your wood shingles while elevating the drainage channels cleanly off the underlayment plane.
Butt each subsequent course directly against the preceding roll rather than overlapping edges. Overlapping courses would create awkward 1/2-inch ridges across your roof plane that prevent shingles from laying flat. Fasten the mat securely using standard roofing nails or staples, placing one fastener roughly every 3 square feet to hold the matrix steady until the shingles are applied.
Step-by-Step Installation Process for Shingles and Shakes
To ensure full system performance and uphold building code requirements, follow this field-tested procedure based on official Cedar Breather Installation Instructions:
Verify Minimum Slope Requirements: Confirm roof pitch meets manufacturer guidelines. Wood shingles require a minimum roof slope of 3/12, while heavier, split wood shakes require a minimum slope of 4/12 for adequate gravity water runoff.
Detail Valleys and Eaves: In valleys, roll out a 24-inch wide strip of #30 roofing felt centered down the valley over the base underlayment before laying the mat. Keep the mat edges trimmed back cleanly along valley lines to allow debris to wash away unobstructed.
Adjust Rake Edge Positioning: In regions subject to wind-driven rain, stop the ventilation mat 1 inch inboard from the rake edge trim. This creates a natural wind baffle that prevents severe gusts from driving lateral rain deep under your edge courses.
Work Sequentially from Fascia to Ridge: Unroll and tack the mat in horizontal courses, installing the corresponding wood shingle course over each section as you work upward. Working from eaves to peak prevents workers from walking across and potentially snagging the exposed nylon matrix.
Calculate Adjusted Nail Lengths: Because the mat adds approximately 1/4 inch of nominal thickness under the roof covering, increase fastener lengths accordingly. Shingle nails must penetrate through the cedar, through the mat, and at least 3/4-inch deep into or completely through the roof sheathing.
Pairing a Cedar Breather for Roof Longevity with Ridge Vents
A ventilation mat provides convective drainage channels, but true convective airflow relies on a pressure differential between lower intake air and upper exhaust air. To maximize drying potential across your roof deck, combine the mat with an exhaust system such as a Rapid Ridge 7 or Roll Vent ridge vent assembly.
Outdoor air enters through continuous soffit or eave intake vents, moves up through the 3D nylon matrix under the shingles as solar radiation heats the roof plane, and exhausts freely out the ridge. When addressing roof repair projects on aging cedar assemblies, correcting choked ridge ventilation and adding a dedicated underside air channel is often what prevents future moisture damage.
This continuous airflow path is equally beneficial under standing-seam metal roofing systems. On metal roofs, the matrix functions as an effective capillary break, preventing condensation accumulation beneath panels while dampening the acoustic drumming of heavy rainfall.
Warranty Coverage and Long-Term System Performance
A well-ventilated cedar roof provides exceptional service life, frequently exceeding 30 to 50 years with basic maintenance. High-grade ventilation mats support that durability with comprehensive manufacturer warranty protections:
20-Year Limited Product Warranty: Guarantees that the physical nylon matrix will not degrade, rot, delaminate, or lose structural compressive resistance under normal atmospheric exposure.
25-Year Complete System Warranty: Extended labor and material coverage applies when the ventilation mat is installed as a coordinated assembly alongside certified ridge vents (such as Rapid Ridge 7) and approved underlayment components.
Investing in a properly ventilated underlayment layer pays measurable dividends over the building life cycle. It prevents premature shingle replacements, stops deck rotting before it starts, and preserves the natural look of wood roofing.
Frequently Asked Questions About Roof Ventilation Mats
Can a cedar breather be used under metal roofing?
Yes. The three-dimensional nylon matrix works exceptionally well beneath standing-seam and modular metal roof assemblies. It creates a dedicated 1/4-inch drainage cavity that keeps condensation off the underlayment, reduces metal expansion friction against the deck, and delivers sound-dampening benefits during rainstorms.
What is the minimum roof slope for installing Cedar Breather?
For wood shingles, the recommended minimum roof pitch is 3/12 (a 3-inch vertical rise for every 12 inches of horizontal run). For wood shakes, the minimum slope is 4/12. Lower slopes allow water to dwell too long on the wood surface, which limits gravity runoff and accelerates biological growth. Homeowners unsure of their pitch or deck condition can schedule a free roof inspection to verify structural compatibility.
How does Cedar Breather prevent thermal cupping and warping?
Thermal cupping happens when the sun rapidly dries out the top face of a wet shingle while the underside remains saturated against solid sheathing. The dry top shrinks while the wet bottom stays swollen, curling the shingle edges upward. By creating an open channel for air beneath the wood, the mat allows the bottom of the shingle to dry at almost the same rate as the top, balancing internal moisture levels and keeping shakes flat.
Conclusion
A wood roof is a significant architectural investment that deserves lasting protection. Trapped moisture, restricted drying, and poor ventilation remain the primary causes of early wood roof failure. Installing a continuous, three-dimensional nylon ventilation mat ensures the continuous airflow, active drainage, and thermal balance cedar shingles need to reach their full operational lifespan.
At Lassiter Roofing, we bring over 30 years of practical roofing experience to every residential, commercial, and agricultural property across Idaho’s Western Treasure Valley. We pair proven materials with meticulous craftsmanship, individually quoted pricing, and our dedicated 5-year workmanship warranty. Whether you are installing natural cedar shakes, durable standing-seam metal, or adding an advanced ice and water shield underlayment to fortify eaves, our crew builds complete roof systems designed for long-term performance.


